Fire Scene Evidence Preservation: A Checklist for Insurers and Attorneys
How to preserve fire scene and electrical evidence after a loss: notice to interested parties, joint scene exams, labeling, chain of custody and lab exams.

Contents
- Why the First Days Matter
- The Checklist at a Glance
- Steps 1 and 2: Secure the Scene and Hold Off Cleanup
- Step 3: Notify Interested Parties
- Step 4: Document Before Anything Moves
- Step 5: The Joint Scene Examination
- Step 6: Collect, Label and Package
- Step 7: Chain of Custody and Storage
- Step 8: The Joint Laboratory Examination
- Common Mistakes
- Frequently Asked Questions
- How Dreiym Engineering Can Help
Preserving evidence after a fire means keeping the scene, and anything that may have caused the fire, in a condition every interested party can examine, and documenting everything done to it. In practice that comes down to eight steps: secure the scene, hold off cleanup, notify interested parties before anything is moved, document the scene, examine it jointly, collect and label items properly, keep a chain of custody in secure storage, and examine items in the lab only under a protocol the parties have agreed to. NFPA 921 and ASTM E860, E1188 and E1459 describe the practice.
This checklist is for the adjusters, subrogation professionals and attorneys who make those decisions in the first days after a loss, often before anyone knows where the fire started. It isn’t legal advice. What counts as reasonable notice, and what a court will do about lost or altered evidence, depends on the jurisdiction and the facts, so bring counsel in early.
Why the First Days Matter
Spoliation is the loss, destruction or significant alteration of evidence when a claim or lawsuit is reasonably foreseeable. NFPA 921 addresses it directly, because fire scenes are especially easy to spoil. Depending on the jurisdiction and the circumstances, courts can respond by excluding evidence or expert opinions, instructing the jury that the lost evidence would have hurt the party responsible, or dismissing claims. A subrogation case can be lost before it starts if the appliance everyone wants to examine went to the landfill with the debris.
Fire scenes don’t wait. Weather, debris removal, board-up crews, salvage, utility work and repairs all change what is there. Electrical evidence is especially fragile. Arc sites on branch circuit conductors, breaker handle positions, fuse elements and receptacle contacts carry much of the information about where and how a fire started, and they are lost the moment conductors are pulled from conduit, a panel is cleaned out or a breaker is reset.
The Checklist at a Glance
| Step | What to do | Why |
|---|---|---|
| 1. Secure the scene | Restrict and log access once the fire department releases it | Keeps the scene as found |
| 2. Hold off cleanup | Limit contractors to safety and weather protection | Debris layers record how the fire spread |
| 3. Notify interested parties | Written notice, in time to attend | One examination everyone can rely on |
| 4. Document first | Photos, video, diagrams, 3D scan, electrical system as found | The scene can’t be put back |
| 5. Examine jointly | Agreed protocol and a sign-in sheet | No party can say it was left out |
| 6. Collect and label | Whole items, both ends of cut conductors labeled | Keeps context and condition |
| 7. Chain of custody and storage | Every transfer logged; secure, monitored storage | Shows nothing was altered |
| 8. Joint lab examination | Non-destructive steps first, under a written protocol | Destructive steps happen only once |

Steps 1 and 2: Secure the Scene and Hold Off Cleanup
Once the fire department releases the scene, control passes to the owner and their insurer. Restrict access, log who enters and why, and deal with the hazards first: unstable structure, energized conductors, gas.
Board-up, tarping and water extraction protect the property and are usually necessary. Debris removal, demolition and contents cleaning in the area of origin are not, and they destroy evidence quickly. Tell restoration contractors, public adjusters and the owner, in writing, what may and may not be touched until the scene has been examined.
If the utility pulls the meter or disconnects the service, ask them to photograph it first and to preserve the meter if the service equipment could be involved. Record who disconnected what, and when.
Step 3: Notify Interested Parties
Notice gives everyone with a potential stake the chance to attend and send their own experts. Depending on the loss, that can include:
- The owner, tenants and their insurers
- Manufacturers of appliances, equipment, batteries or products in the area of origin
- Electrical and other contractors who worked on the systems involved
- The landlord or property manager
- The utility, where the service equipment may be involved
- Retailers and distributors of suspect products
A useful notice letter states the date and location of the loss, the activity planned (scene examination, removal of items, laboratory examination), the date, time and place, the items of interest as far as they are known, a contact person, and a deadline to respond. Send it in a way that proves delivery. Notice isn’t a one-time event: under ASTM E860, any examination or test that could alter an item should be preceded by notice to the parties who may have an interest in it.
Step 4: Document Before Anything Moves
A fire scene can only be dismantled once, so it has to be recorded first, in enough detail that someone who wasn’t there can follow the examination later:
- Photographs working from the outside in: every elevation, the approaches, each room, then the area of origin from overall views to close-ups, with a scale in close-ups and a photo log.
- Video walkthroughs for spatial context.
- Diagrams with measurements and north marked, showing room layout, furniture, appliances and outlets.
- 3D laser scanning, which captures the whole scene as a measurable point cloud. Distances, heights, burn patterns and lines of sight can then be checked months later, after the scene is gone.
Then document the electrical system as found:
- Every panelboard: photograph the handle position of every breaker before anything is touched, along with the panel schedule and any fuses. Heat can trip some breakers and deform others, so the position is a fact to record, not a conclusion.
- The service entrance, meter and meter base.
- Branch circuits in and near the area of origin: routing, receptacles and switches, and what was plugged in where, including extension cords and power strips.
Arc mapping, the systematic examination of conductors for arc sites, can help define the area of origin. It works only while the conductors are still where the fire left them. Our post on myths about arc mapping explains what it can and can’t show.

Step 5: The Joint Scene Examination
A joint examination works best with a protocol agreed beforehand: the sequence of work, who removes debris and how, how layers are documented, who collects items and where they go, and how photographs will be shared. A sign-in sheet records who attended and on whose behalf. Each party’s experts can photograph and take notes throughout. Usually one party collects the evidence, with the others’ agreement on what is taken.
Debris in the area of origin is removed in layers, and each layer is photographed. Objects that may be ignition sources stay in place until they have been documented, then are collected with their surroundings where practical. Exemplars, identical products from elsewhere in the building or the same model bought new, can be identified at the scene and preserved too.
Step 6: Collect, Label and Package
Collect the whole item where practical. That means the whole appliance rather than its control board, the receptacle with its box and a length of conductor, and the breakers or the whole panel with their positions documented. Keep enough of the circuit to test alternative explanations, not just the item that looks suspicious.
For conductors:
- Cut, don’t pull. Pulling conductors through conduit can strip off beads and other features. Where arcing may be inside a conduit, keep the conduit with the conductors.
- Leave enough length on each side of a feature of interest.
- Label both ends of every cut piece, and record which end went where.

ASTM E1459 covers labeling: each item gets a unique identifier, a description, where it was found, the date and time, and who collected it. Package items in rigid containers with padding, keep them dry, and don’t clean them. Debris samples for ignitable liquid testing go in sealed containers suited to the purpose, such as clean metal cans.
Lithium-ion batteries need extra care. Damaged cells can go into thermal runaway and reignite hours or days later. Package them separately in non-combustible containers, store them away from other evidence, and never charge or power any device collected as evidence.
Step 7: Chain of Custody and Storage
The chain of custody records every transfer of every item: who handed it to whom, when, in what condition and for what purpose. ASTM E1188 addresses collection and preservation by a technical investigator, and ASTM E1492 addresses receiving, documenting and storing evidence in a laboratory. Gaps in the record invite the argument that the item was altered.
Storage should be secure, access-controlled, logged and dry. A rented storage unit with no access log and a leaking roof is a poor place for the item a case depends on. Evidence should stay in storage until the claim and any litigation are resolved and every party has released it in writing.
Step 8: The Joint Laboratory Examination
Lab work follows the same rule as the scene: a written protocol, circulated to the parties in advance, with time for comments. Non-destructive steps come first, because destructive steps can only be done once:
- Visual examination and photography of the item as received
- Measurements and, where useful, 3D scanning
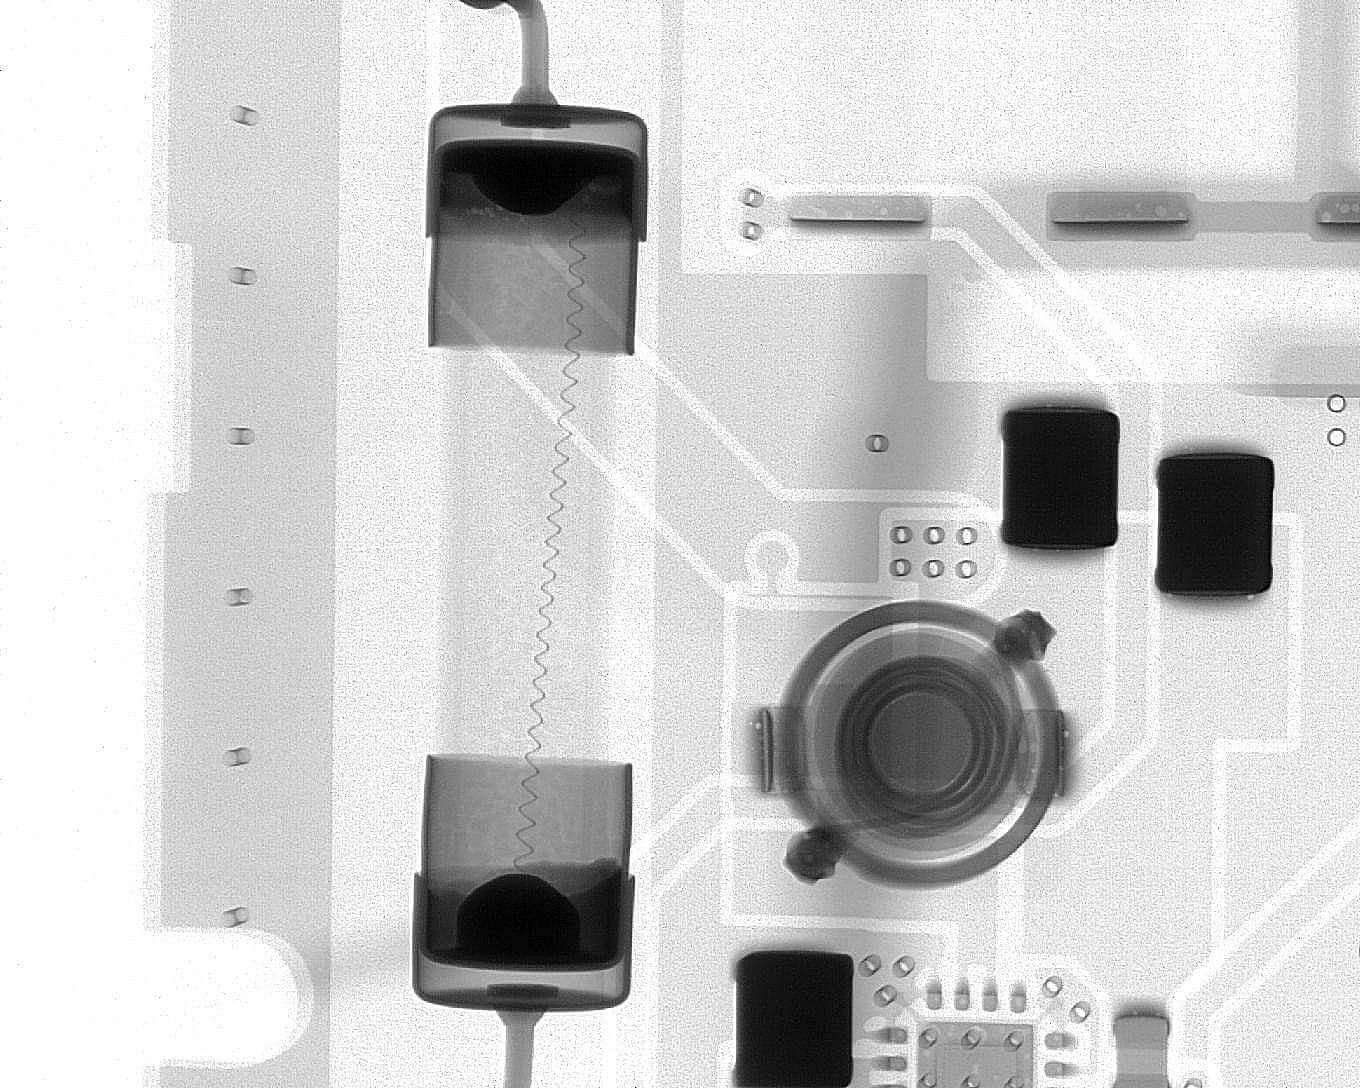
- X-ray examination, which shows the internal positions of contacts, conductors, fuse links and battery cell structures before anything is opened
- Microscopic examination of features such as beads and contact surfaces
- Step-by-step disassembly, photographed at each step
- Sampling for further analysis, as agreed
Common Mistakes
- Releasing the scene for demolition before manufacturers and contractors have been notified.
- Collecting only the suspect appliance and discarding the panel, branch wiring and other potential ignition sources needed to rule out alternatives. NFPA 921’s method requires alternative hypotheses to be considered and tested.
- Opening or powering up evidence to “see if it works” before a joint examination.
- Pulling conductors through conduit, cleaning arc sites, or resetting breakers.
- Photographs with no log, no scale and no orientation.
- Losing the utility meter when the service is disconnected.
- Storing evidence in an unsecured or damp space with no chain of custody.
- Skipping notice before the lab examination, even though every party attended the scene.
Frequently Asked Questions
How soon should an engineer examine the scene?
As soon as possible. Every day adds weather, cleanup pressure and the chance that someone moves or discards something. An early visit can also tell you which parties to notify and what to hold.
Can repairs start before the scene examination?
Work needed for safety and to protect the property from weather can. Anything that disturbs the area of origin should wait until the scene has been documented and the interested parties have had their chance to examine it.
Do we need a fire investigator or an electrical engineer?
For a fire that may be electrical, often both skill sets. A fire investigator determines the origin and cause; an electrical engineer evaluates the electrical system and equipment involved, and whether they caused the fire or were damaged by it. Our post on how to choose a forensic engineering consultant covers what to look for.
Can an engineer be retained as a consulting expert only?
Yes. Counsel often retains an engineer first as a consulting, non-testifying expert to evaluate the case. We accept consulting-only retentions.
How Dreiym Engineering Can Help
We investigate fire origin and cause and electrical failures, with scene inspections as soon as possible after we’re retained. Brian J. Brackensick, M.S., P.E. and Stepan V. Eero, M.S., P.E. both hold the NAFI CFEI and CVFI certifications, and our team includes licensed Professional Engineers with active and past licensure in multiple states. We capture scenes with a Leica BLK360 and a Matterport scanner through our 3D space capture service, and our engineering lab in Coldspring, Texas has in-house real-time X-ray (a Nordson Dage Quadra 3, for parts up to 20 x 17.5 in and 11 lb, at up to 7,500x magnification), a microscope with an 18 MP camera, and an 18,000 lb vehicle lift for vehicle fire examinations. Evidence storage is video-monitored. For an example of our work, see our post-fire electrical origin investigation, and to start an assignment, use our forensic assignment form. Reports are PE-stamped where required. Contact us or call (866) 621-6920 for a free quote. We typically respond within one business day.